Create A New Virtual Environment With Conda

Create A New Virtual Environment With Conda
Why Virtual Environment?
One of the key advantage of using a isolated working-environment is,
a) lets assume you start a project-x, and install library-x for your work
b) the date when you installed library-x, v1.2.6 was available
c) after few weeks, while project-x is still going on, you initiated project-y also
d) for project-y, you need library-y, so you installed library-y in your system
e) however, library-y comes in a bundle of many other libraries, including library-x
f) the day when you started working on project-y and thus installed library-y, by that time library-x's version v1.2.9 was available
g) and thus your library-x gets automatically updated to newer version
h) this might lead to issues, as your project-x is built on top of v12.6, and installing newer version may or maynot throw some errors
To avoid all these issues, it is a good practice to create isolated working-environment for your project
If you had created 2 separate virtual environment for project-x & project-y, the libraries would have been installed in isolation with each other, and thus risk of issues would have been averted
Follow below provided steps to create a new virtual environment for your new project:
1) Visit official Conda product page and click on green Download button on right hand side
2) Click on save file to begin download, and open the file after it gets downloaded completely
3) Keep default settings if installing for first time, and keep clicking on "Next" till the installation begins
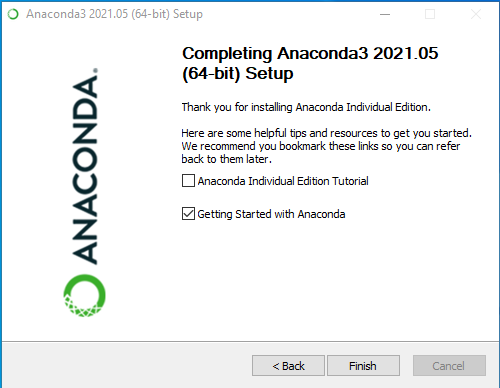
4) After instllation, in the end screen, select "Getting Started With Anaconda" to launch Anaconda Prompt
 4) If stuck anywhere, visit Official Doc for detailed installation guide
5) If Anaconda Prompt doesn't opens up automatically, press windows key and search "Anaconda Prompt" and hit enter
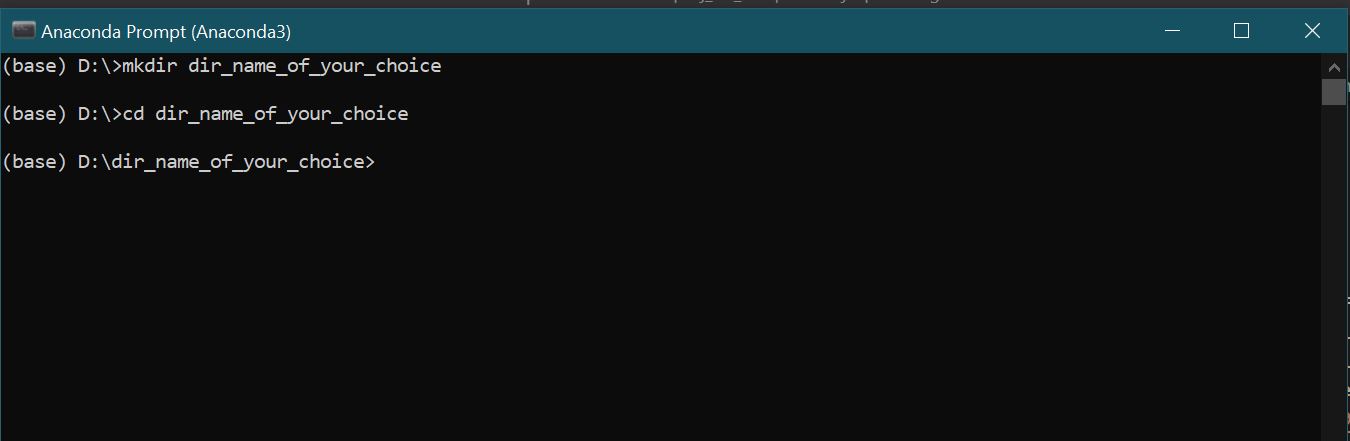
6) Anaconda Prompt will look something like this
 7) Create a new folder to save all your code files in there
8) In Anaconda Prompt, type mkdir command to create a new folder, & cd command to enter inside that folder
 9) As we created a new folder to keep our code files isolated from rest of the files, we will also create a "working-environment" to keep our python libraries isolated from changes or later updates
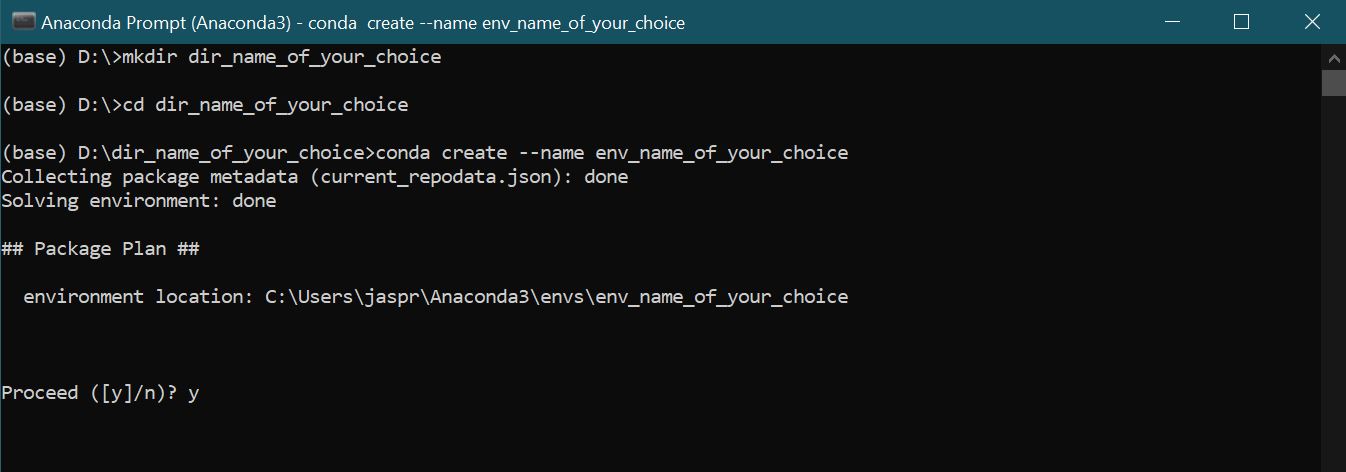
10) In anaconda prompt type conda create --name env_name_of_your_choice and hit enter
11) When prompted with yes or no, enter "y" and hit enter
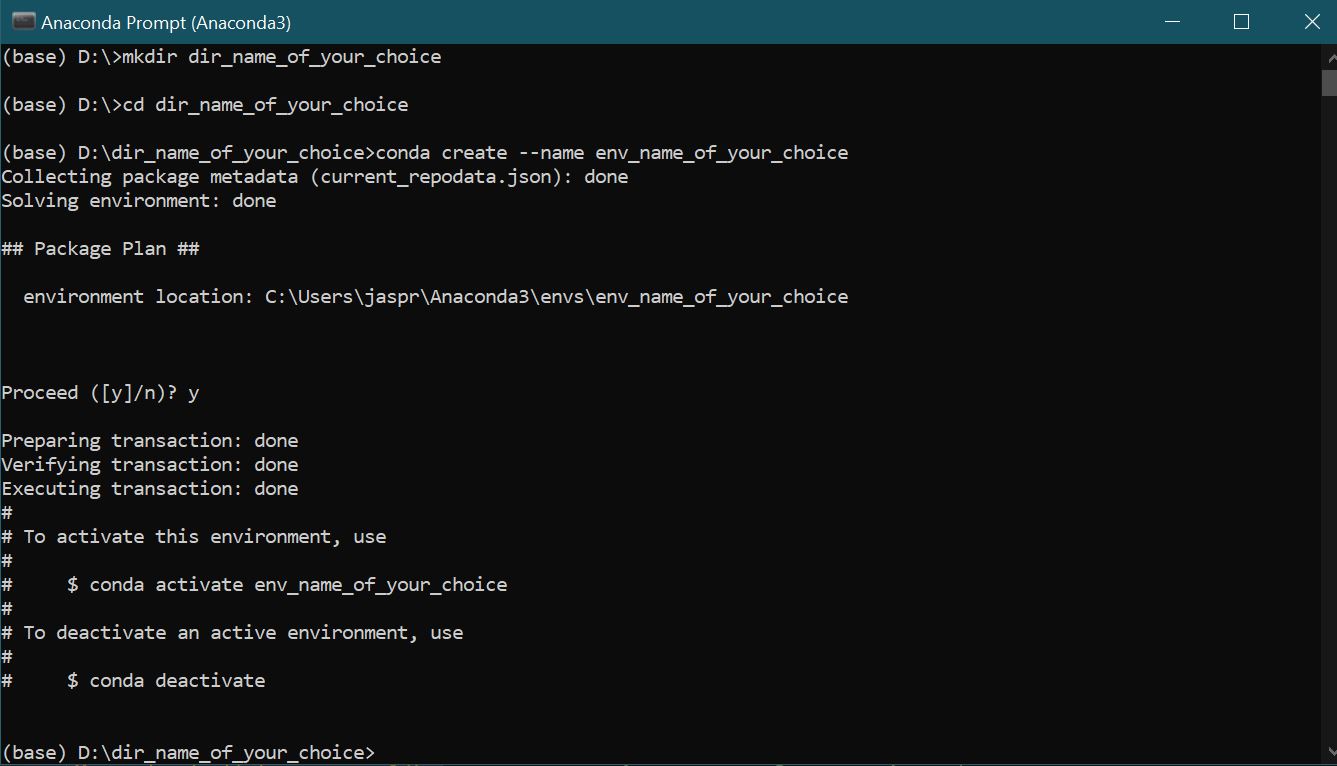
 Your new environment would be created
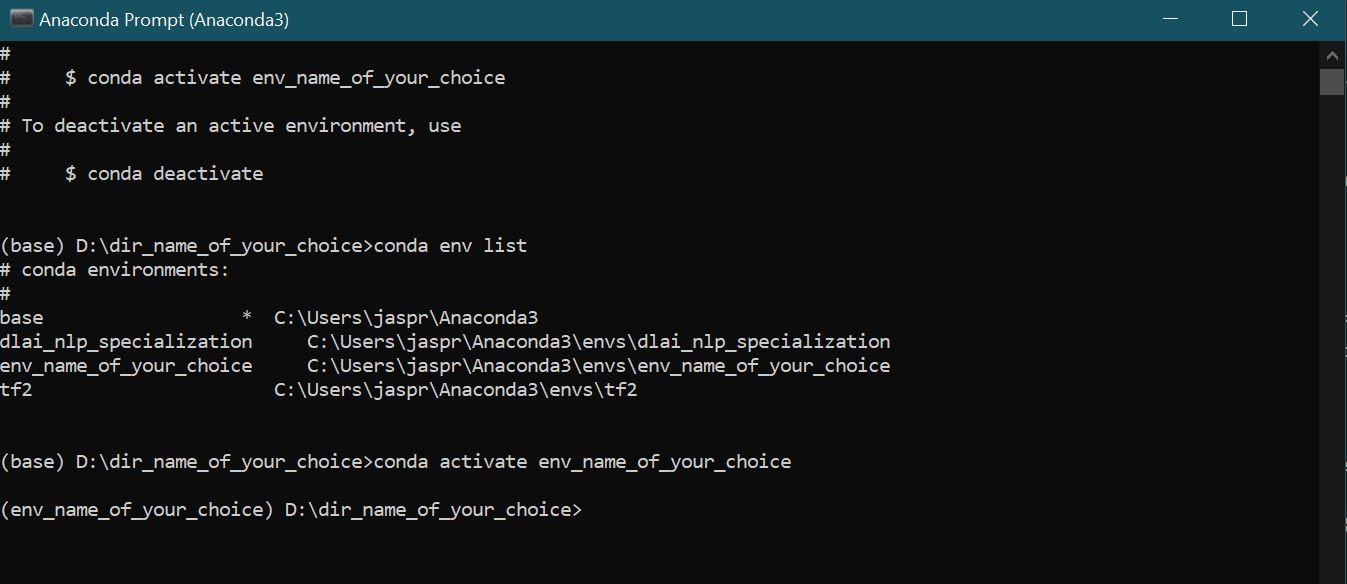
 12) To list all the existing virtual environment available to you, type "conda env list"
13) Enter "conda activate env_name_of_your_choice" to activate your newly created environment
Using same dependencies across various machines
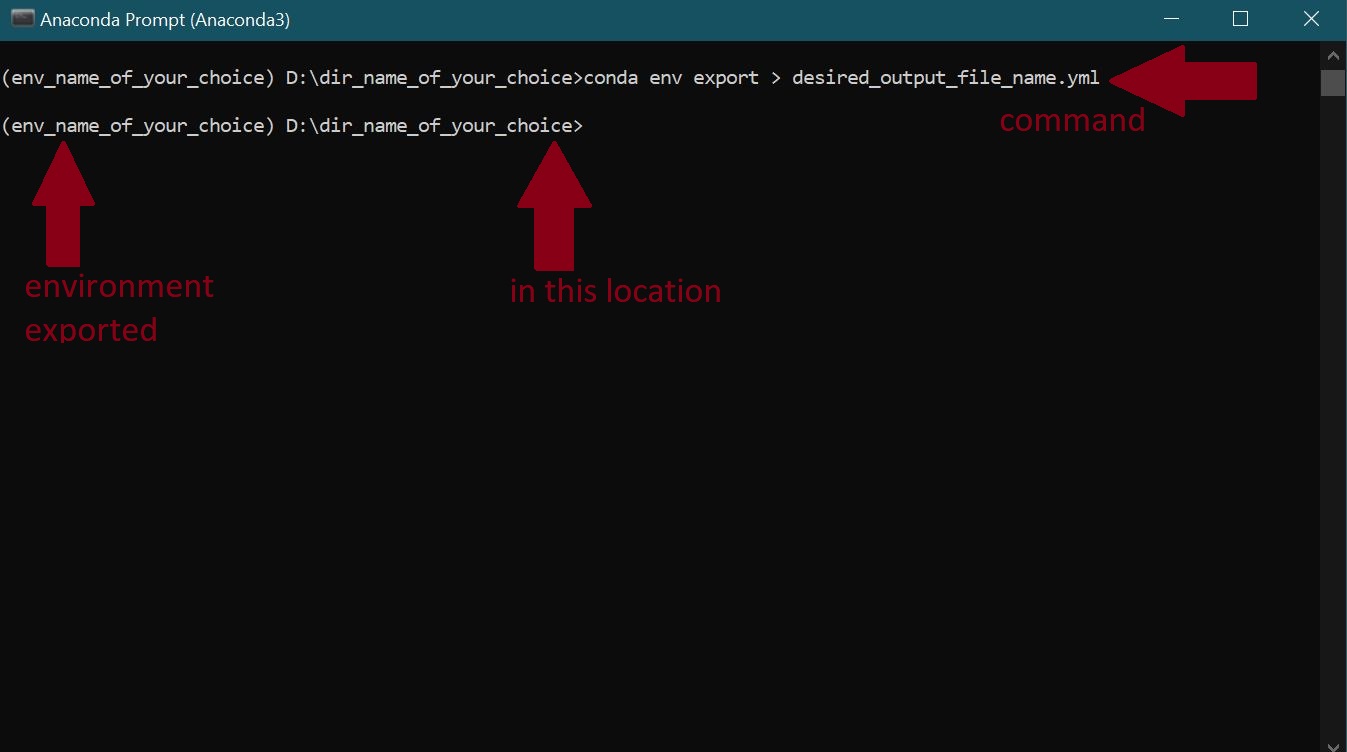
If you wish to make sure the list of libraries and their respective versions needs to be replicated with your friends/colleagues/different machines, you can export your environment's dependencies using following commanmd
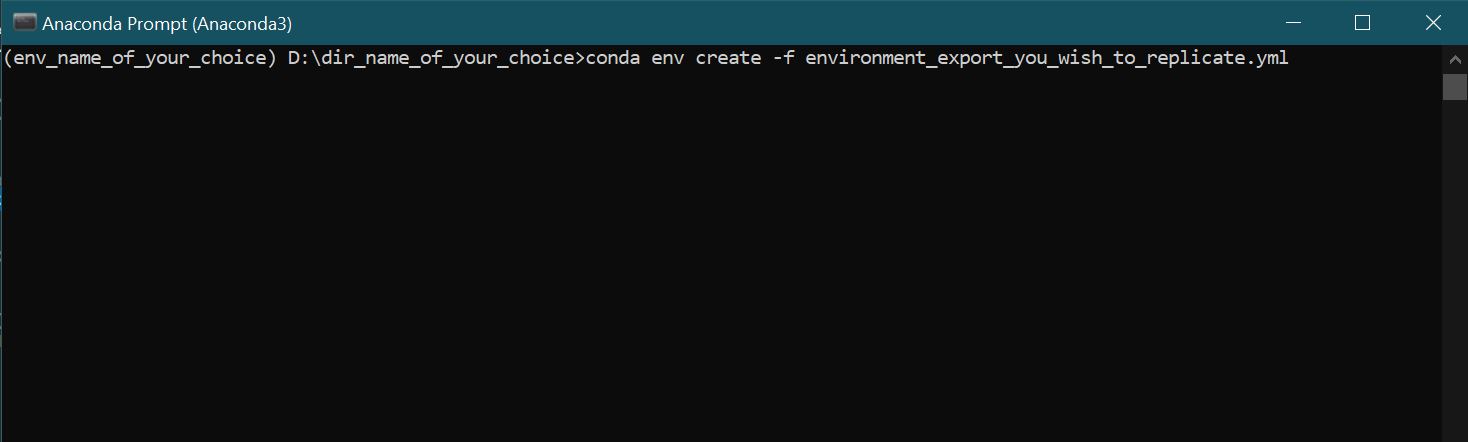
And, if you wish to share your environment with others, or use other's environment, place this export .yml file in your project directory and run this command to create a duplicate
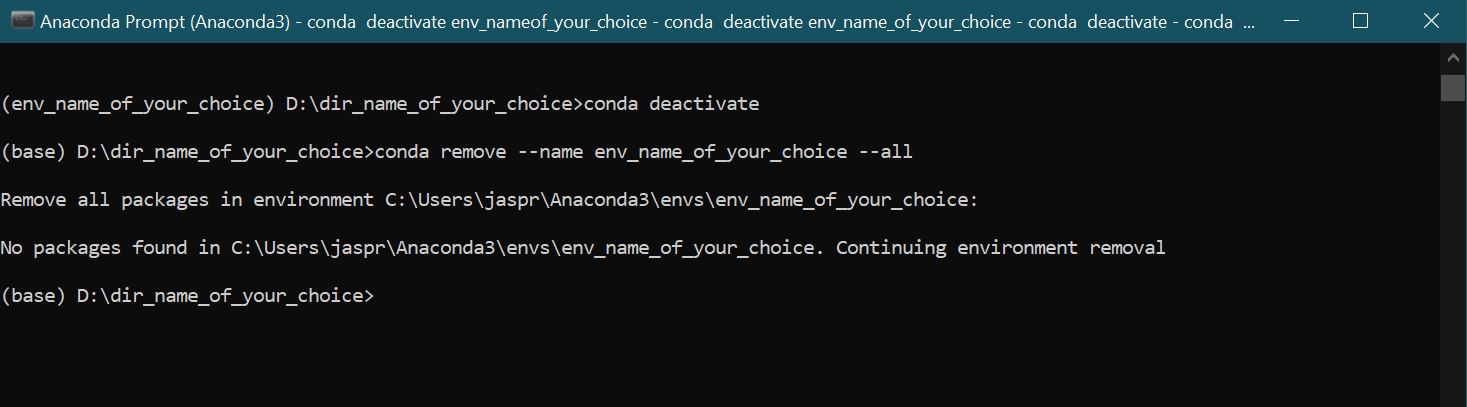
And finally, if you wish to remove an environment, there's 2 step process
- deactivate current environment
- remove the environment
I hope I helped you to break all of it down into as simple and uncomplicated as possible. Still, in case of any unresolved issue you have, feel free to drop a comment below.